
How to set up your digital signature.
Did you know you can sign most documents without having to print them? Setting up digital signatures in Adobe Reader or Acrobat is a straightforward process – and you can do it on the free version. Follow the steps below to set up your digital signature.
1. Open Adobe Reader or Acrobat and sign in to your account.
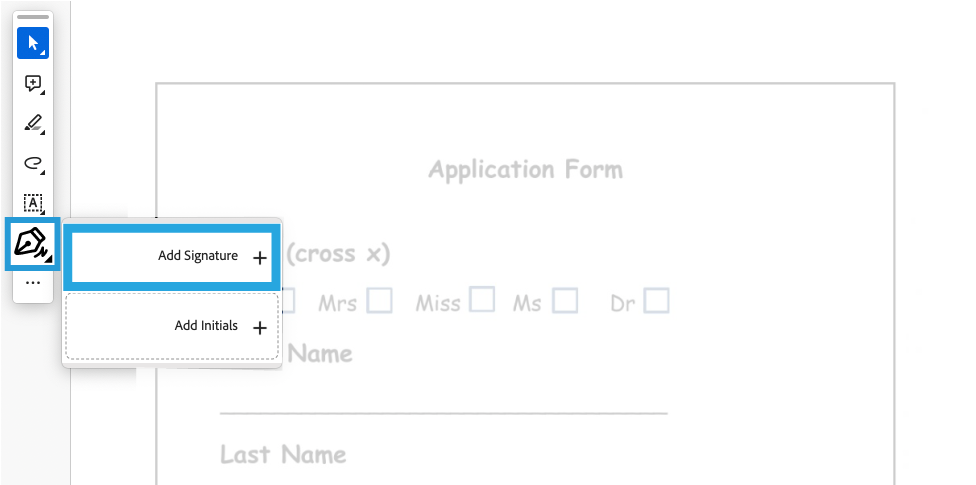
2. With your document open in the Adobe Acrobat or Reader App, look for the Sign icon, which looks like the nib of a pen. It should be in the toolbar of the application or you can select Tools > Fill & Sign to open the signature panel. Click “Add Signature”

3. When prompted, Type, Draw or Upload an image of your signaure. Once you are happy with your signature, click “Apply” to save your signature and sign the document.

4. Back in the document, you will be able to place and resize your signature in the appropriate location. Drag your signature to where you’d like to sign and use the small blue circle on the bottom right corner of the containing box to expand or reduce the size of your signature.
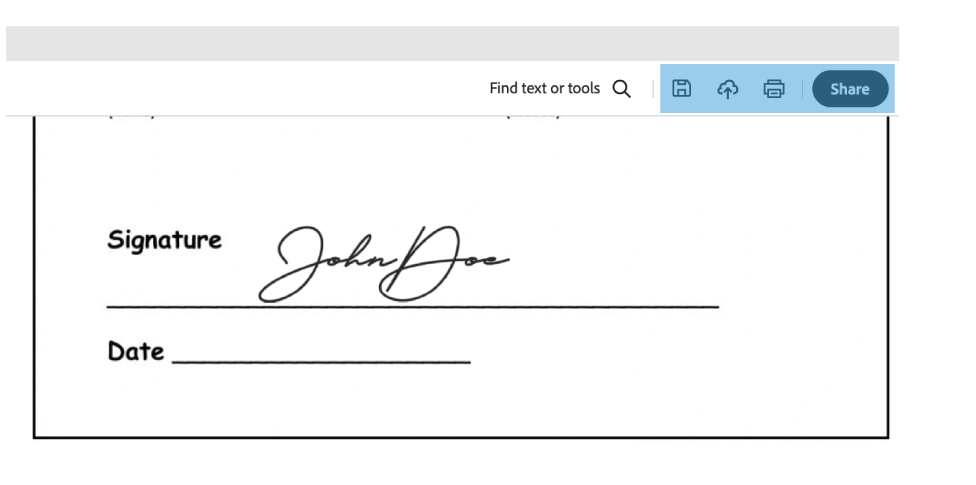 5. Once completed, you can save, share or print your signed form by selecting one of the options in the top tool bar or from the “File” menu